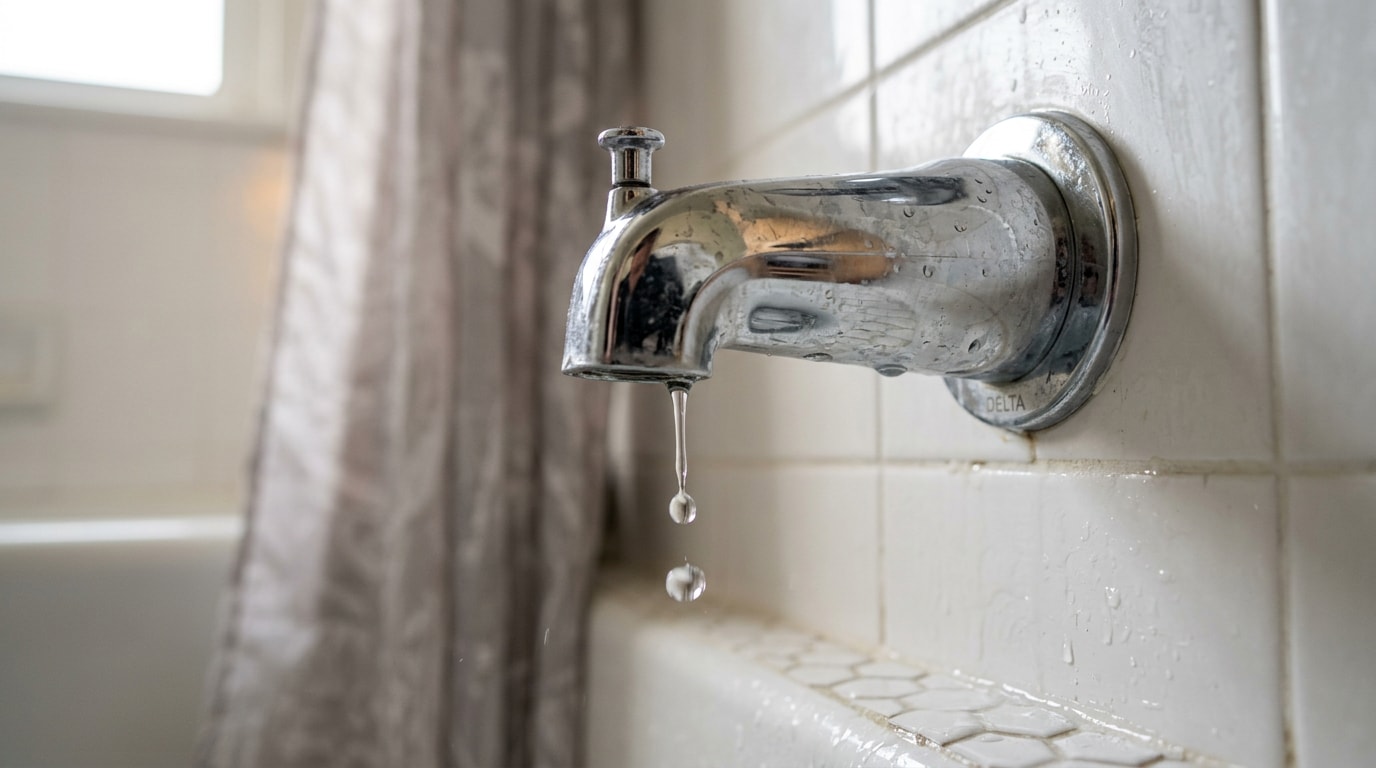
A failing toilet flush valve in Chino Valley, AZ usually shows up as a weak flush, a hissing tank, or water that never fully stops running. The fix depends entirely on which part failed first. This guide walks through the local causes, how to confirm the flush valve is actually the culprit, and what a correct repair looks like.
Why Flush Valves Fail Faster in Chino Valley
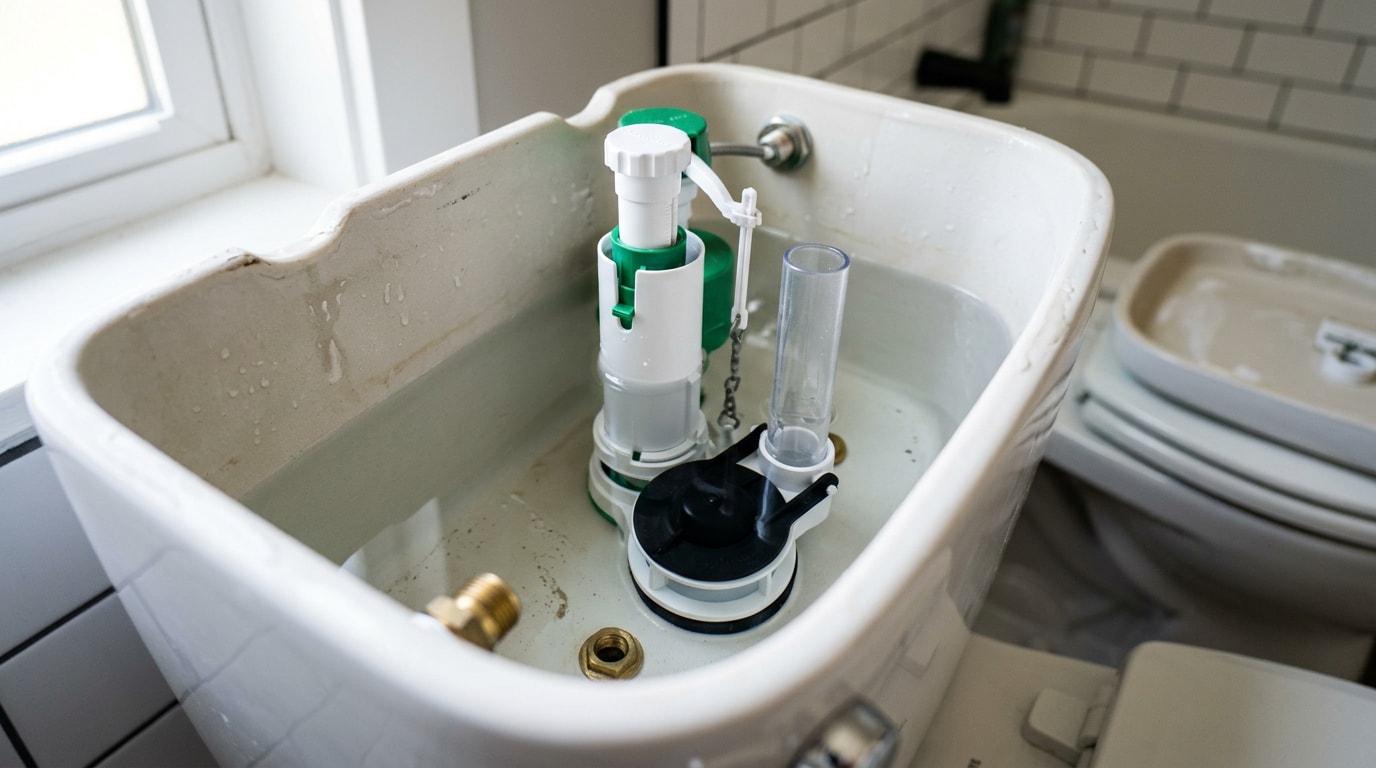
A flush valve is the assembly at the bottom of the tank that releases water into the bowl on every flush. It works with a rubber flapper, which seals the top of the valve between flushes.
Most Chino Valley households and private systems in the area draw from groundwater wells tied to the Little Chino and Big Chino sub-basins. The study area includes the Big Chino and Little Chino subbasins in the upper Verde River watershed and the Verde Valley subbasin in the middle Verde River watershed. Well-fed water supplies in this region tend to carry more dissolved minerals than a municipal surface-water system, and that mineral content is what settles inside a tank over time.
In the field, that scale shows up first on the flush valve seat and the flapper, since both sit submerged and get wetted and dried with every single flush cycle. A flapper that looks fine in a softer-water home can warp or crust over within a couple of years here. That's the local wrinkle behind a lot of "my toilet just stopped flushing right" calls in Chino Valley.
4 Signs the Flush Valve Is the Problem
Not every running or weak-flushing toilet points to the flush valve. These four signs narrow it down:
- A faint hissing sound between flushes, even when no one has used the toilet
- A weak or incomplete flush that doesn't clear the bowl in one pass
- A tank that refills on its own without being used
- Visible wear, warping, or scale buildup on the rubber flapper
One caution: water pooling at the base of the toilet almost always points to a wax ring or supply-line issue, not the flush valve. It's still worth a quick check while the tank is open, but don't start there.
What a Running Flush Valve Is Actually Costing You
A flush valve that won't fully seal doesn't just waste a little water. An old or worn flapper can cause your toilet to flush on its own or silently leak thousands of gallons a year. Multiply that across a household with more than one toilet and the number climbs fast.
It matters more here than in most places. Household leaks can waste nearly 1 trillion gallons of water annually nationwide, so each year the EPA's WaterSense program hunts down the drips during Fix a Leak Week. In a groundwater-dependent area like Chino Valley, every wasted gallon comes straight out of the same limited local supply.
Flapper, Fill Valve, or Flush Valve: What Actually Needs Replacing
Three different parts can cause the exact same symptom, which is why diagnosis matters before you buy anything.
| Part | What it does | Typical failure sign |
|---|---|---|
| Flapper | Seals the flush valve opening between flushes | Hissing, slow leak into the bowl |
| Fill valve | Refills the tank after a flush | Tank never shuts off, trickling sound |
| Flush valve seat | Releases water from tank to bowl | Weak flush even with a new flapper |
Worn flappers and faulty fill valves are usually a straightforward parts swap. But if the flush valve seat itself is cracked or corroded, not just the flapper sitting on top of it, a flapper swap alone won't fix anything. Replace a flapper when the real problem is a cracked flush valve seat, and the toilet will be back to running within days.
If the tank keeps refilling on its own after a flush valve swap, the fill valve or float is likely the actual cause. Our toilet running guide for Chino Valley walks through those parts in more depth.
Tools and Parts for a Flush Valve Replacement
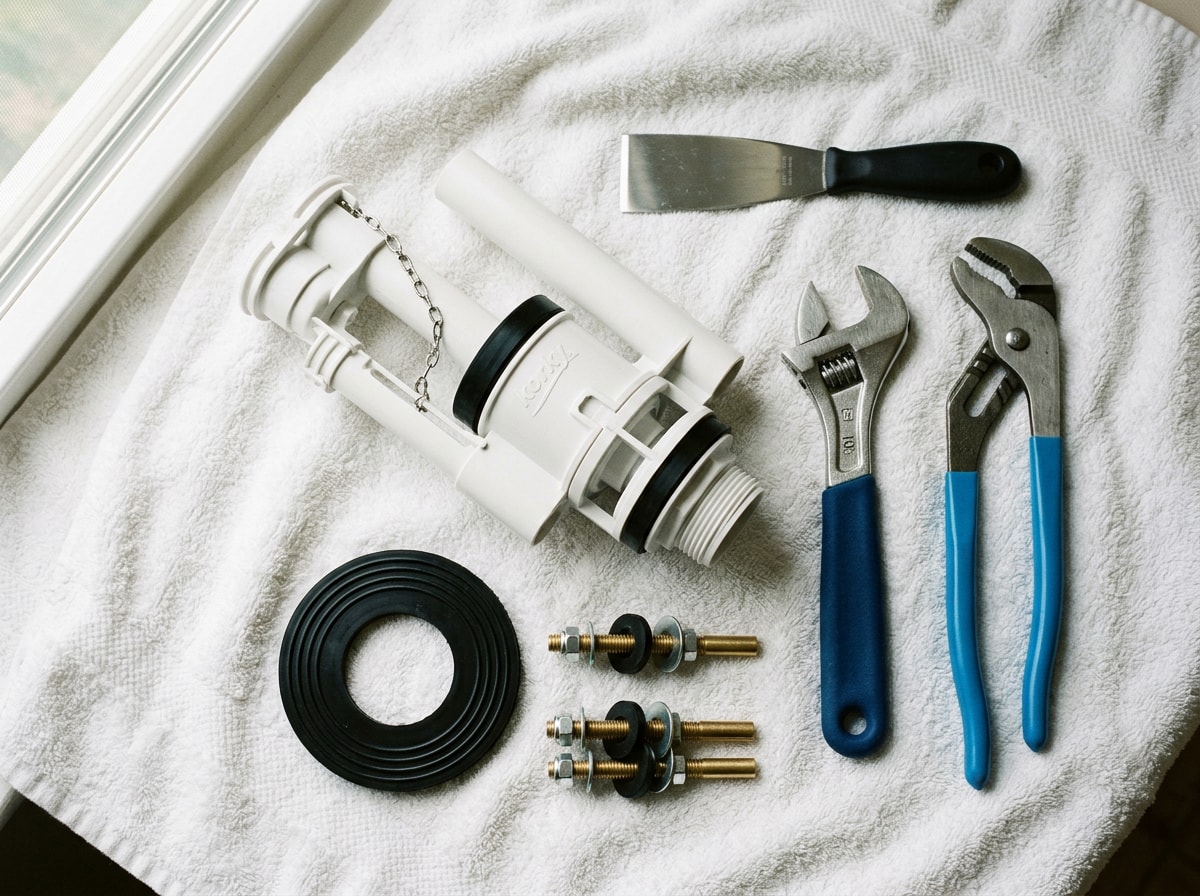
- A replacement flush valve matched to your tank's opening size
- Adjustable wrench or channel-lock pliers
- Putty knife
- Sponge and bucket
- New tank-to-bowl bolts and rubber washers
- New spud washer
Sizing matters more than it looks. Check the toilet's brand and model, or bring the old part to the hardware store, since valve height and overflow tube length vary between manufacturers. A flush valve that doesn't match the tank's opening won't seat properly no matter how carefully it's installed.
How to Replace a Toilet Flush Valve, Step by Step
The job typically takes 30 to 45 minutes with basic hand tools on a standard two-piece toilet.
1. Shut Off the Water and Drain the Tank
Turn the supply valve at the wall clockwise until it stops. Flush the toilet to empty as much water from the tank as possible. Loosen the supply line nut at the fill valve counterclockwise and pull the line free. Sponge out whatever water remains in the tank bottom.
2. Remove the Old Flush Valve
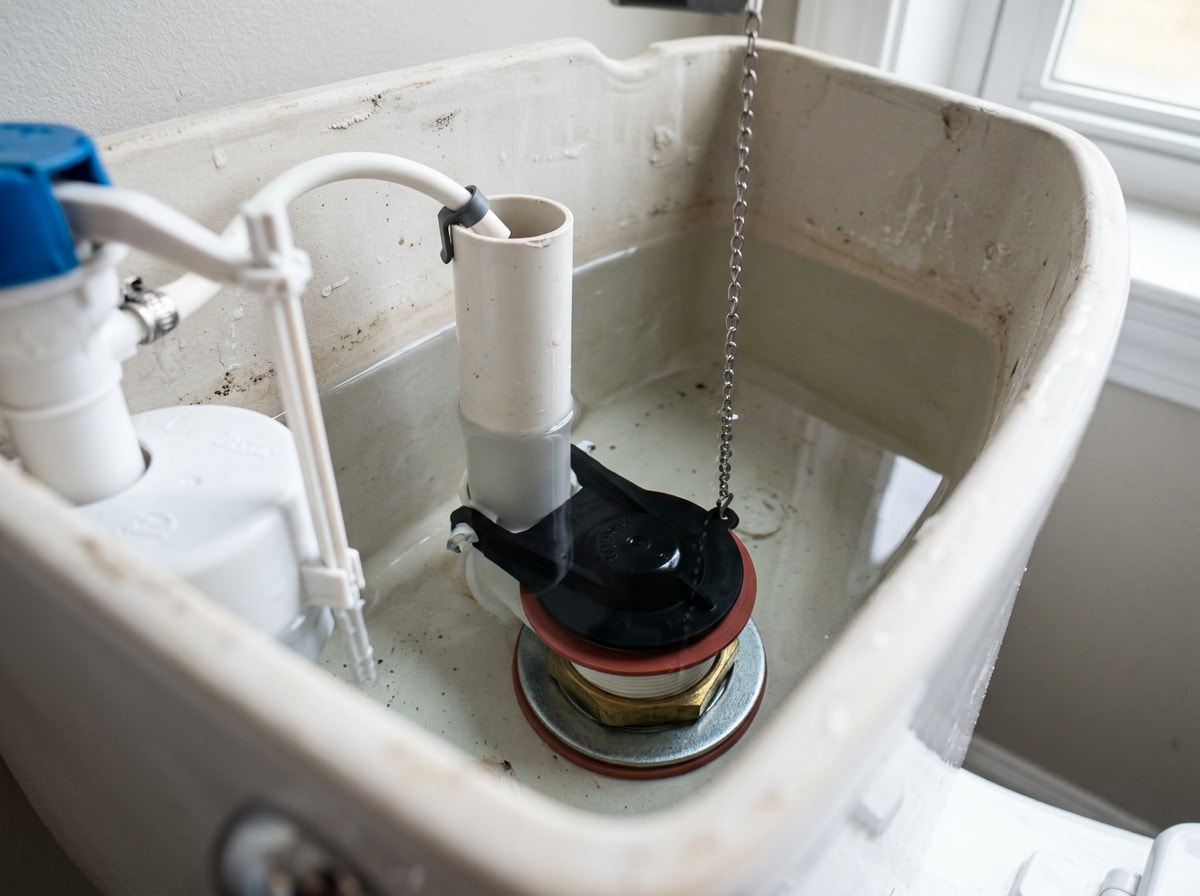
The flush valve shank passes through a hole in the tank bottom, held by a rubber spud washer and a spud nut. Hold the bolt steady from inside the tank with a screwdriver while loosening the spud nut from underneath. Lift the old valve assembly straight out.
3. Install the New Flush Valve
Seat the new valve with the overflow tube facing the fill valve. Tighten the mounting nut from underneath, snug but not overtightened, since over-torquing a plastic nut is a common way to crack it.
4. Reconnect, Refill, and Test
Reconnect the supply line, turn the water back on, and let the tank fill completely. Flush and watch the full cycle. A quiet, complete flush with no running afterward means it's done correctly.
One-Piece vs. Two-Piece Toilets: Replacement Differences
One-piece toilets don't separate the tank from the bowl, which changes how you access the flush valve.
| Factor | Two-piece toilet | One-piece toilet |
|---|---|---|
| Access | Tank lifts off entirely for clear access | Work through a narrow tank opening |
| Time required | 30 to 45 minutes for an experienced DIYer | 60 to 90 minutes due to tighter clearances |
| Risk | Lower | Higher risk of cracking the tank or bowl |
| Pro recommended? | Only if bolts are seized | More often, due to cramped access |
Some models add another wrinkle. Canister-style flush valves and dual-flush mechanisms often require a brand-matched replacement part rather than a universal one, so confirm the exact valve type before ordering parts.
When to Call a Plumber Instead of DIY-ing It
Certain situations call for professional help rather than a weekend project:
- Corroded mounting bolts that won't budge
- A cracked tank or bowl
- Repeated failures within days of a fresh repair
- A one-piece toilet where access is already tight
If the flush valve seat is cracked or heavily corroded, the fix means pulling the tank off the bowl entirely. That's a bigger job than a parts swap, and most homeowners would rather not risk cracking porcelain over it. Get a free estimate if you'd rather have a professional handle the teardown.
When Repair Isn't Enough: Full Toilet Installation
Repair is the cheaper move when the toilet is relatively new and the issue is internal, like a bad flapper or fill valve. Repeated failures or an aging unit shift the math toward full replacement instead.
A correct installation involves checking the closet flange, setting a new seal, and leveling the bowl before securing it to the floor. Joints shall be sealed with an approved elastomeric gasket, flange-to-fixture connection complying with ASME A112.4.3 or an approved setting compound. Replacement flush valves and flushometers sold for water closets are also built to a published standard; that standard covers spuds and flush valves for water closet bowls, tanks, and urinals. That's part of why swapping in a mismatched part rarely seats correctly.
The team at Elsea Plumbing handles both the simple parts swap and the full teardown-and-reset, so you're not stuck guessing which one your bathroom actually needs. Our residential plumbing services cover everything from a single flapper replacement to a full toilet swap for homes throughout Chino Valley.
FAQ
Is it better to repair or replace a running toilet?
If the toilet is under ten years old and this is its first repair, fixing it is almost always cheaper. Frequent repeat failures, a cracked tank or bowl, or an old high-flow model usually tip the scale toward replacement instead.
Can I replace a flush valve without removing the whole toilet?
On a two-piece toilet, yes. The tank lifts off the bowl, giving full access to the valve from underneath. One-piece toilets require working through the tank opening without separating any parts.
How long does a toilet flush valve typically last?
Most flush valves last 7 to 10 years under normal conditions. Mineral-heavy well water can shorten that window by a few years if the tank isn't checked periodically.
How much does it cost to fix a running toilet or replace a flush valve?
A professional repair visit usually runs in the low hundreds of dollars, depending on which part needs replacing. Full toilet replacement costs more upfront but ends repeat callbacks on an old, failing unit.
Why is my toilet bubbling or gurgling when I flush?
Gurgling or bubbling during a flush is usually a drain-venting issue, not a flush valve problem. It's worth a separate look rather than assuming the valve is to blame.