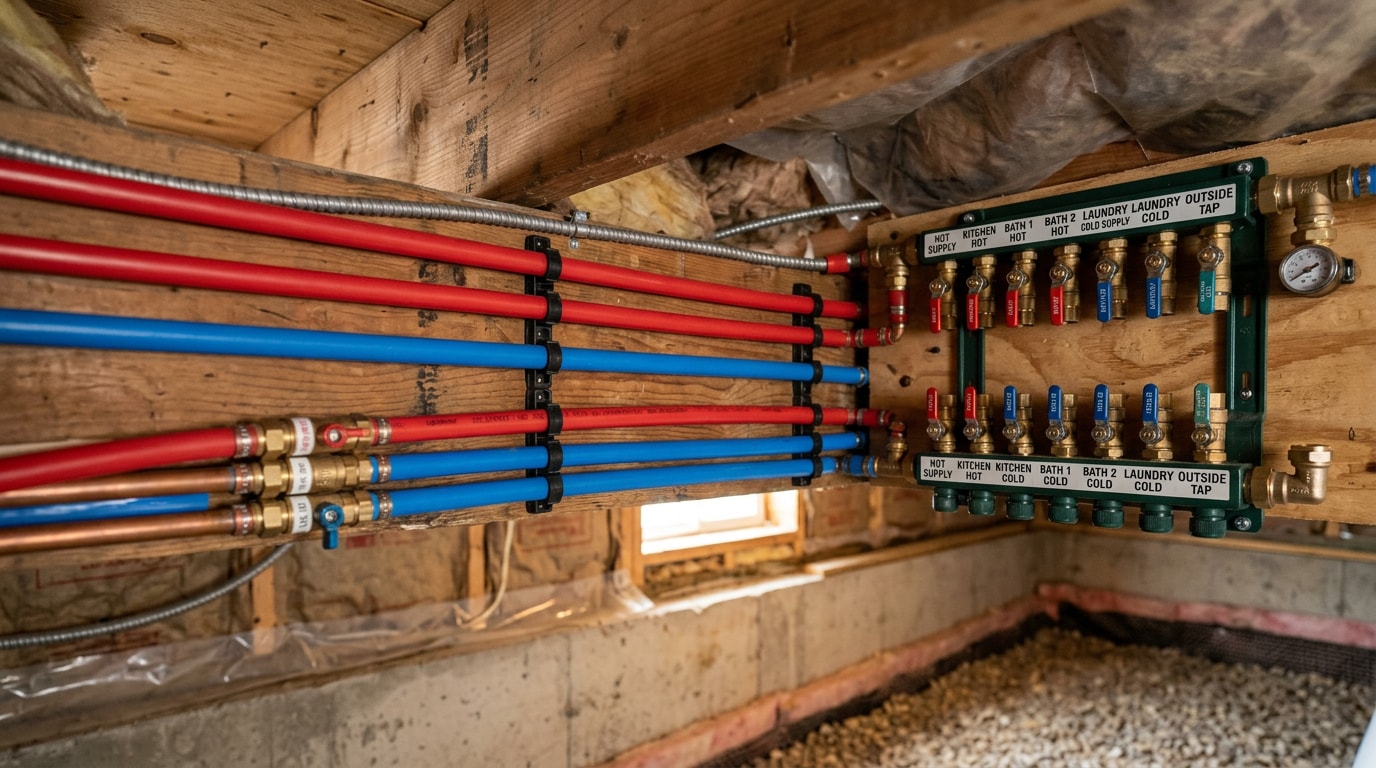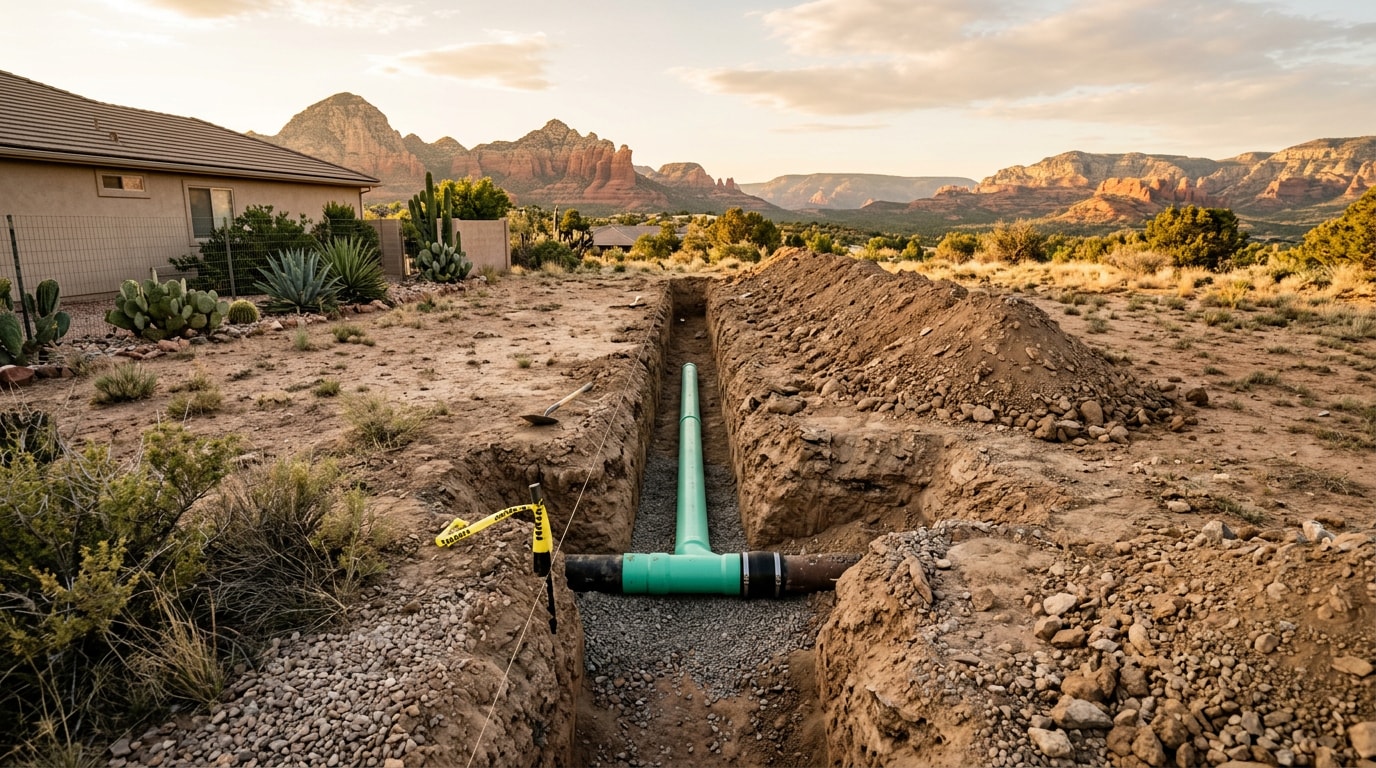
A walk in shower drain plumbing diagram for a Skull Valley, AZ home has to account for something most generic guides skip entirely: almost every house out here ties into a private septic system, not a city sewer main. Get the drain size, trap depth, slope, or vent distance wrong and you're not just risking a slow drain, you're risking a callback that means cutting into a mud bed you just finished. This guide breaks down every dimension on that diagram in plain terms, with the local details that actually matter once the subfloor is open.
What the Diagram Is Actually Showing You
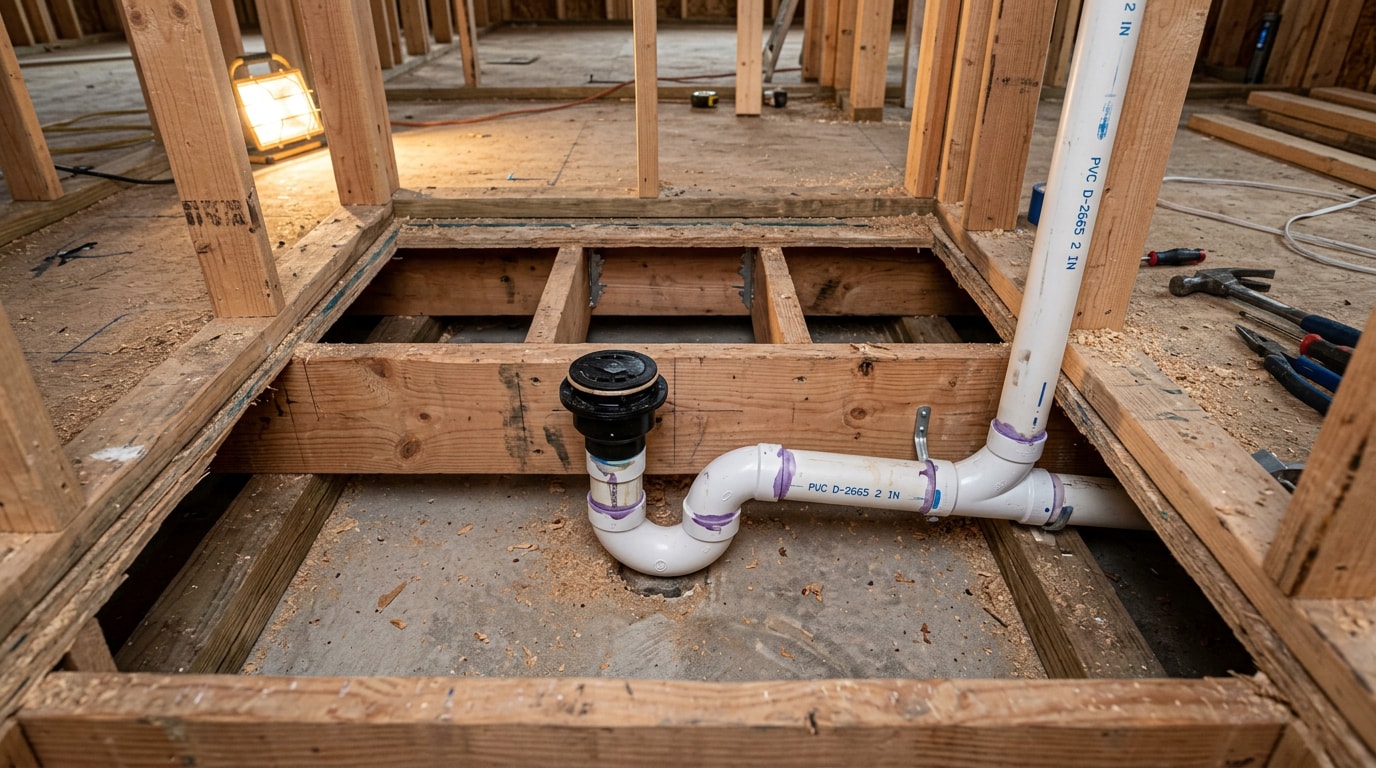
Strip away the symbols and a walk-in shower drain diagram is really just five parts, drawn in order of how water moves through them: the drain body at the floor, the drain piping below it, a P-trap, a horizontal trap arm, and a vent connection. Once you can point to each of those five on paper, the rest of the layout stops looking like a foreign language.
The point of drawing it out before demo day is simple. You catch a joist conflict, a trap that's too shallow, or a vent run that's too long while it still only costs you an eraser, not a saw.
The 2-Inch Drain Rule: Why a Tub Drain Won't Cut It
A walk-in shower drain requires 2-inch pipe under both the IPC and UPC, and that number refers to pipe diameter, not the strainer or drain cover you see on the floor. Everything else on the diagram, trap size, vent distance, even the depth of the mud bed, gets sized around that 2-inch figure.
The reason is volume. A tub stores water in a basin and lets it out slowly through a 1-1/2 inch line. A walk-in shower has no basin at all. It dumps water straight onto an open floor, and the smaller pipe simply can't keep pace.
This is exactly where tub-to-shower conversions go sideways. The existing tub drain is almost always 1-1/2 inch, and tying a new shower pan into it without upsizing the line doesn't meet code, even if it drains fine for the first few months. If you're planning that kind of conversion, our residential plumbing team sizes the new drain line before tile ever goes down.
P-Trap Placement and Depth
Directly below the drain body sits a 2-inch P-trap, with its weir (the inside curve where water spills over) typically landing 6 to 10 inches below the finished floor in standard joist framing. The trap should sit as close to directly under the drain outlet as the framing allows.
Most jurisdictions require that trap to be glued, solvent-weld PVC or ABS under the floor, not a slip-joint fitting. Slip joints are reserved for accessible spots, like under a sink cabinet, where someone can service them without opening a wall.
Why does this matter so much? The trap holds a small standing column of water that physically blocks sewer gas from reaching the bathroom. Drop that trap too deep to dodge a joist, or offset it too far horizontally, and the seal can fail even when every other measurement on the diagram is correct.
Slope and the Trap Arm: The ¼-Inch Rule
Pipe diameter gets water into the system. Slope is what keeps it moving, both along the horizontal trap arm and across the shower floor itself.
The trap arm is the run between the trap and the point where it ties into a vent. Under the IPC, a 2-inch trap arm can run up to 8 feet before it needs a vent connection. The UPC is stricter here. One plumbing forum thread citing the 2012 UPC Table 1002.2 notes the vent must sit within the distance given in that table, "but in no case less than two times the diameter of the trap arm."
There's also a hard ceiling on total fall: the drop across that trap arm can't exceed the pipe's own diameter. For 2-inch pipe, that's 2 inches of total drop across the entire run before the vent ties in, not per foot.
The shower floor follows the same ¼-inch-per-foot logic, applied outward from the drain in every direction instead of down a single line.
| Distance from drain | Required drop (at ¼"/ft) |
|---|---|
| 3 feet | ¾ inch |
| 4 feet | 1 inch |
| 5 feet | 1¼ inches |
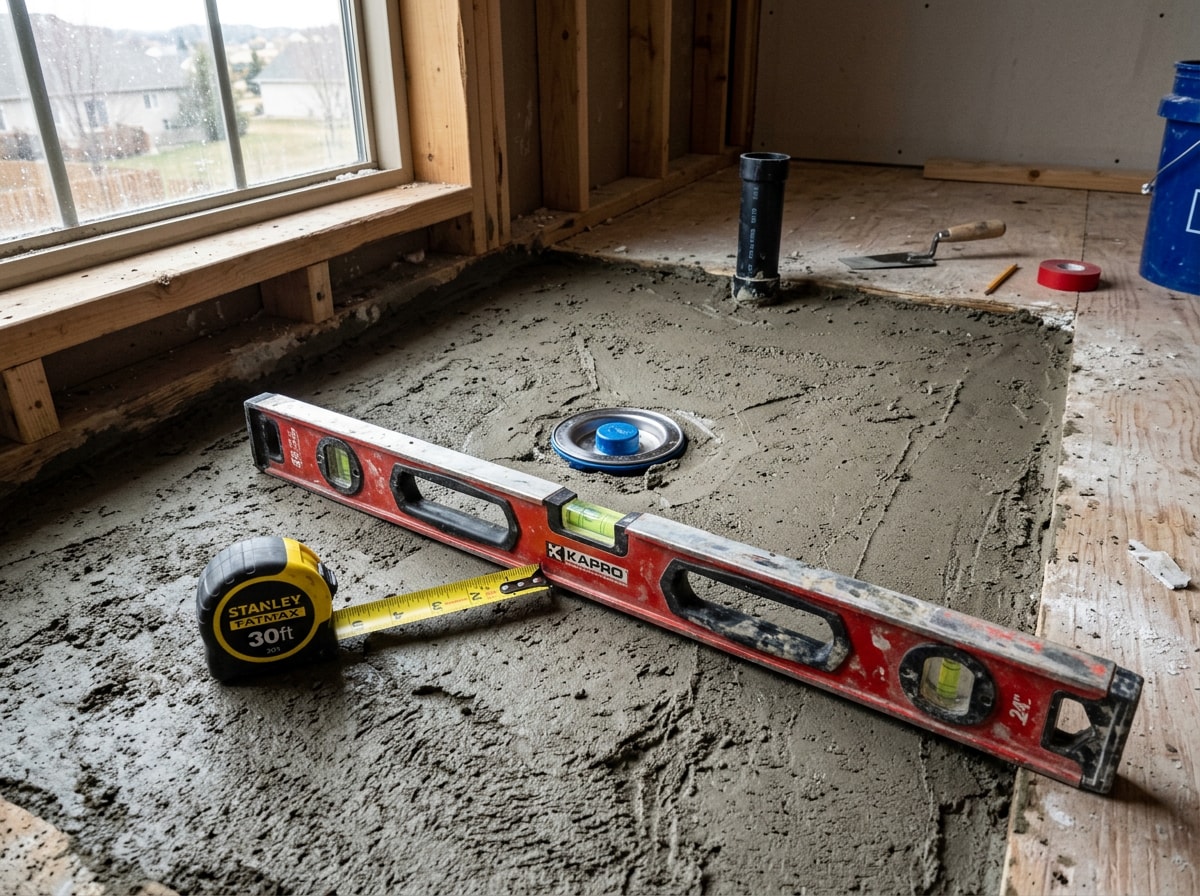
Too little slope leaves soap scum and hair sitting in the pipe instead of carrying it out. Too much, generally anything steeper than ½ inch per foot, lets water outrun solid waste and can pull enough suction to siphon water straight out of the P-trap.
Venting: Keeping the Trap Seal From Failing
A vent's job is to let air into the drain system so water can flow out without pulling a vacuum behind it. Skip or misplace that vent and the vacuum pulls water out of the trap seal, which is one of the most common reasons a correctly sloped shower still smells like sewer gas.
| Code | Max trap-arm distance (2") | Auxiliary vent required when |
|---|---|---|
| UPC | 5 feet | Run exceeds 5 feet |
| IPC | 8 feet | Run exceeds 8 feet |
Because local jurisdictions adopt one code or the other, and sometimes amend it, confirm which version applies before finalizing a layout. IAPMO, founded in 1926, protects the public health and safety by working in concert with government and industry to implement comprehensive plumbing and mechanical systems around the world , and its published Uniform Plumbing Code is one of the two model codes Arizona jurisdictions draw from. If your layout needs a longer run than either code allows, an auxiliary vent is the standard fix, and it's worth sketching that into the diagram before framing closes.
Center, Linear, or Offset: Picking a Drain Layout
Most diagrams fall into one of three drain families, and the choice changes the entire floor-slope plan, not just the hardware.
Center drain. The floor pitches toward the drain from all four directions at roughly ¼ inch per foot. A 5-foot shower, measured from the farthest wall, needs about ⅝ inch of total drop built into the mud bed. Keep the weep holes in the drain barrel clear of mortar; packing pea gravel around the barrel before the mud bed goes down prevents the musty, perpetually damp pan that shows up in rushed installs.
Linear drain. This trench-style channel sits against one wall or across the entry, letting the whole floor slope in a single plane at roughly 3/16 to ¼ inch per foot. That single-plane slope is also why linear drains pair well with large-format tile. The tradeoff is depth: most linear bodies need 3 to 4 inches of vertical clearance below the finished floor, more than a point drain typically needs, which matters in the shallow 2x8 joist bays common in older Skull Valley ranch homes.
Offset drain. Used when the ideal center location lands directly over a joist, beam, or existing plumbing run that can't move. It solves the framing conflict but adds routing complexity, since the trap arm now has to navigate around the obstacle instead of dropping straight down.
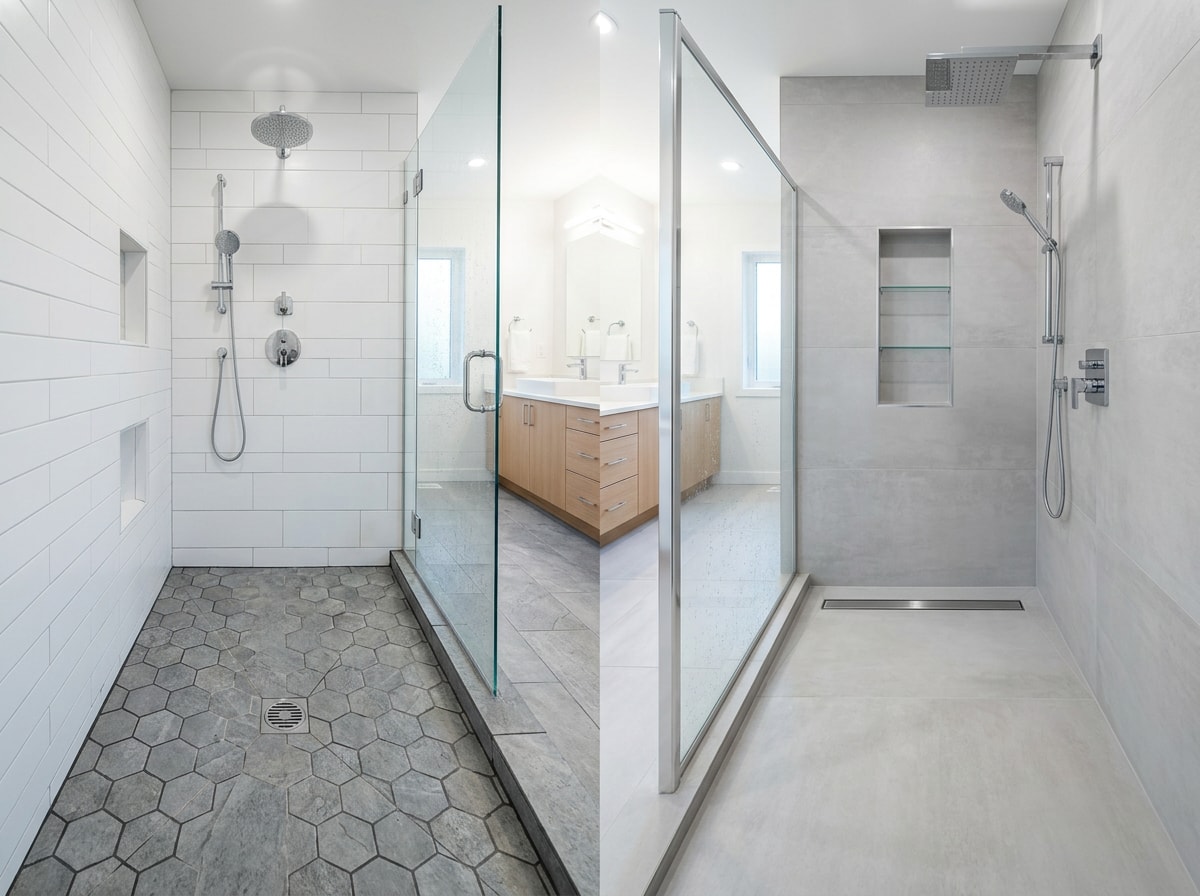
A curbless, barrier-free shower needs its whole sloped pan recessed below the surrounding floor, since there's no curb to contain water at the entrance. That recessed pan competes with the trap, trap arm, and vent for the same vertical space, which tightens every other dimension on the diagram and is often the deciding factor in whether curbless is even feasible in a given floor assembly.
Reading the Symbols on a Real Diagram
Once you know the parts, the next skill is reading how they're drawn. Solid lines on a plumbing diagram represent supply lines carrying water in, while dashed lines represent drainage pathways carrying waste out. Circles typically mark fixtures like drain openings, and arrows show which direction water is meant to flow through each section.
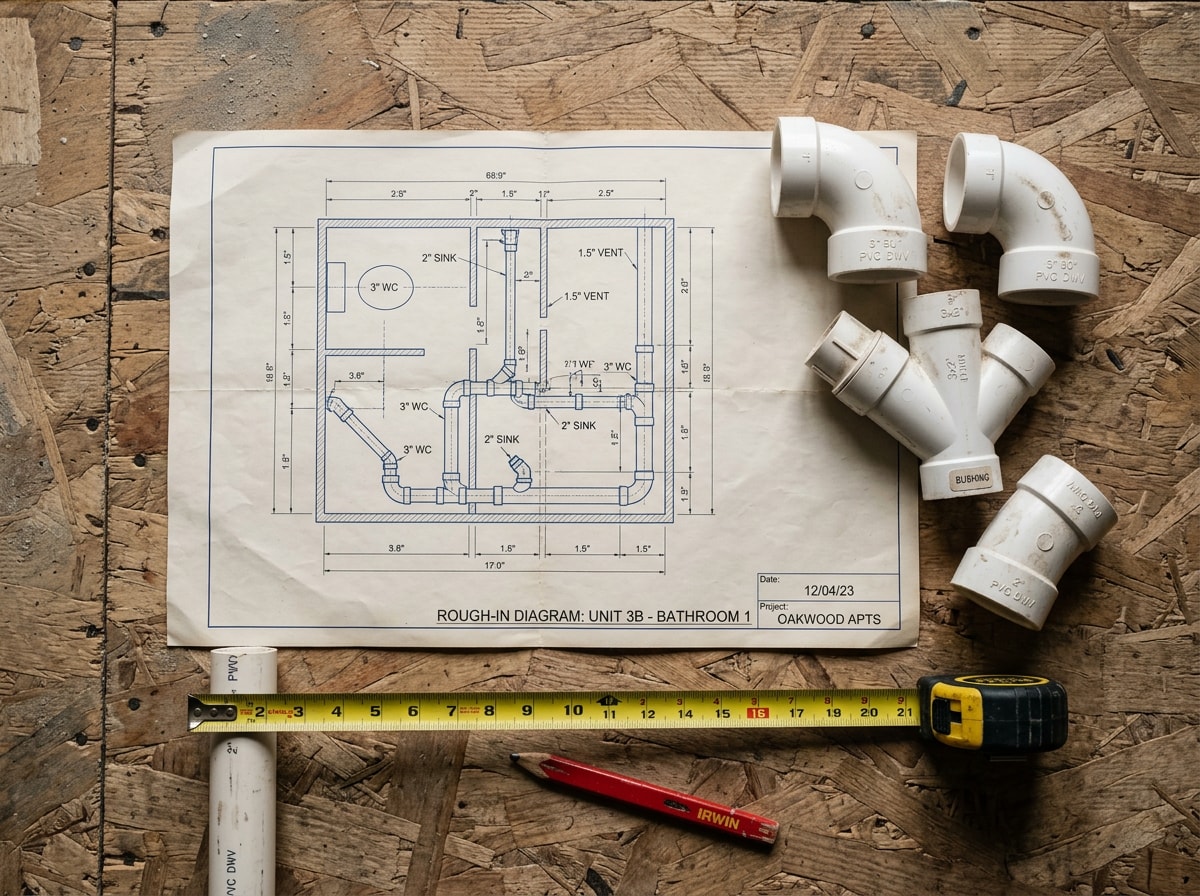
On a linear-drain diagram specifically, trace the floor-slope arrows converging toward the trench, follow the dashed waste line down to the P-trap symbol, then along the trap arm to where it meets the vent stack. Reading top to bottom mirrors how water actually moves through the real system.
What a Generic Diagram Doesn't Tell You About Skull Valley
Here's where a printed diagram from a manufacturer's website stops being enough for a house out here.
Septic, not sewer. Most properties in unincorporated Yavapai County run on private septic rather than a municipal line, and a new walk-in shower adds fixture load to that system. Before a remodel, it's worth confirming your tank and drainfield can handle the added flow, which our septic inspection service checks alongside the drain layout itself. The average household septic system should be inspected at least every three years by a septic service professional.
Permits run through the county, not a city hall. Skull Valley is unincorporated, so plumbing and septic work doesn't go through a city building department. A building permit is an official document required to construct or alter a building or structure in compliance with the minimum requirements of the building codes in the unincorporated areas of Yavapai County. Septic-related work on the same project runs through a separate track: Environmental Services issues permits to construct conventional or alternative septic systems and regulates installation of alternative on-site wastewater disposal systems.
Hard water and older framing. Many homes in this part of Yavapai County were built decades before 2-inch shower drains were standard, meaning the existing waste line under an old tub is almost certainly undersized, and joist bays are often shallower than modern code assumes. That combination is exactly why over-notching a joist to fit a trap becomes tempting, and exactly why it's a mistake (more on that below).
If your property relies on well water and a septic system, our septic system service team and our residential plumbing crew typically scope both sides of a shower conversion together, since the drain diagram and the septic capacity are really one project, not two.
Common Rough-In Mistakes to Avoid
A diagram that looks correct on paper doesn't guarantee a correct install. These are the mistakes that tend to pass a first glance but fail an inspection.
- Trap set too deep. Dropping the trap 2 to 3 feet lower than the diagram specifies, usually to dodge a framing obstacle, creates a pressure imbalance that can siphon the trap dry.
- Over-notched joists. Fitting a 2-inch pipe and trap assembly into a tight joist bay can tempt an installer to cut deeper than the framing allows.
Notches in solid lumber joists, rafters and beams shall not exceed one-sixth of the depth of the member, shall not be longer than one-third of the depth of the member and shall not be located in the middle one-third of the span, and notches at the ends of the member shall not exceed one-fourth the depth of the member. Compromising a joist to save ten minutes on a trap install isn't a trade worth making.
- Slow drainage after the install. This almost always traces back to debris in the pipe or slope that doesn't meet the ¼-inch-per-foot standard. If a camera inspection is needed to confirm which one it is, our drain repair team can scope the line, and our write-up on plumbing camera inspection in Prescott, AZ walks through what that process finds and costs.
Rough-In Checklist Before You Close Anything
Before the subfloor or wall closes up, confirm:
- Vent tie-in position relative to the trap arm's centerline, within code-required distance.
- Trap depth matching the diagram, measured from the finished floor.
- Floor slope verified with a level across multiple points, not just eyeballed.
- Riser height matching the exact drain body specified, not a substitute part.
Skipping any one of these is a common reason an otherwise solid install fails inspection. If you're not sure a crew covers your specific road out here, check our Skull Valley, AZ service area page before scheduling a rough-in visit.
FAQ
What is the purpose of a walk-in shower drain plumbing diagram?
It shows how the drain system should be configured, pipe placement, the drain body, the trap, and venting, so water flows properly and sewer gases stay out of the bathroom.
Why is a P-trap important in a walk-in shower drain system?
The P-trap is a U-shaped section of pipe under the drain that holds a small amount of water. That water acts as a barrier, preventing sewer gases from backing up into the bathroom.
How far can the P-trap be from the vent?
For 2-inch pipe, the IPC allows up to 8 feet between the trap and the vent, while the UPC caps that same run at 5 feet. Local jurisdictions adopt one code or the other, so confirm which applies before finalizing a layout.
How deep does a shower drain box need to be?
Plan on 6 to 10 inches of vertical clearance below the subfloor for a standard point drain, and 3 to 4 inches more than that for most linear drain bodies. Shallow joist bays in older homes sometimes need an offset drain to make the numbers work.
Does a walk-in shower drain into a septic tank the same way a tub does?
Yes, the drain itself ties into the same waste line either way. What changes is the load on the system: a walk-in shower moves more water per minute than a tub, so it's worth confirming your septic tank and drainfield have capacity before the remodel, not after.
Do I need a permit for a walk-in shower conversion in Skull Valley?
Skull Valley is unincorporated, so plumbing and structural permits for the work run through Yavapai County Development Services rather than a city building department, and any related septic work is permitted separately through the county's Environmental Services division.
---
About the author: This guide was written with input from Dustin Elsea, owner of Elsea Plumbing. Elsea Plumbing was founded by Dustin Elsea, a Prescott, AZ native who has spent over 30 years working in the plumbing trade, and understands the specific demands that Arizona's climate and geology place on pipes, septic systems, and water lines. Our crews have roughed in walk-in shower drains in homes across Skull Valley, Kirkland, and the rest of rural Yavapai County, where septic tie-ins and older framing are the rule rather than the exception.
If you're planning a walk-in shower conversion and want the drain diagram checked against your home's actual framing and septic capacity before demo starts, get a free estimate from our team, or visit our homepage to see the full range of plumbing and septic services we provide across Yavapai County.